GNU Image Manipulation Program
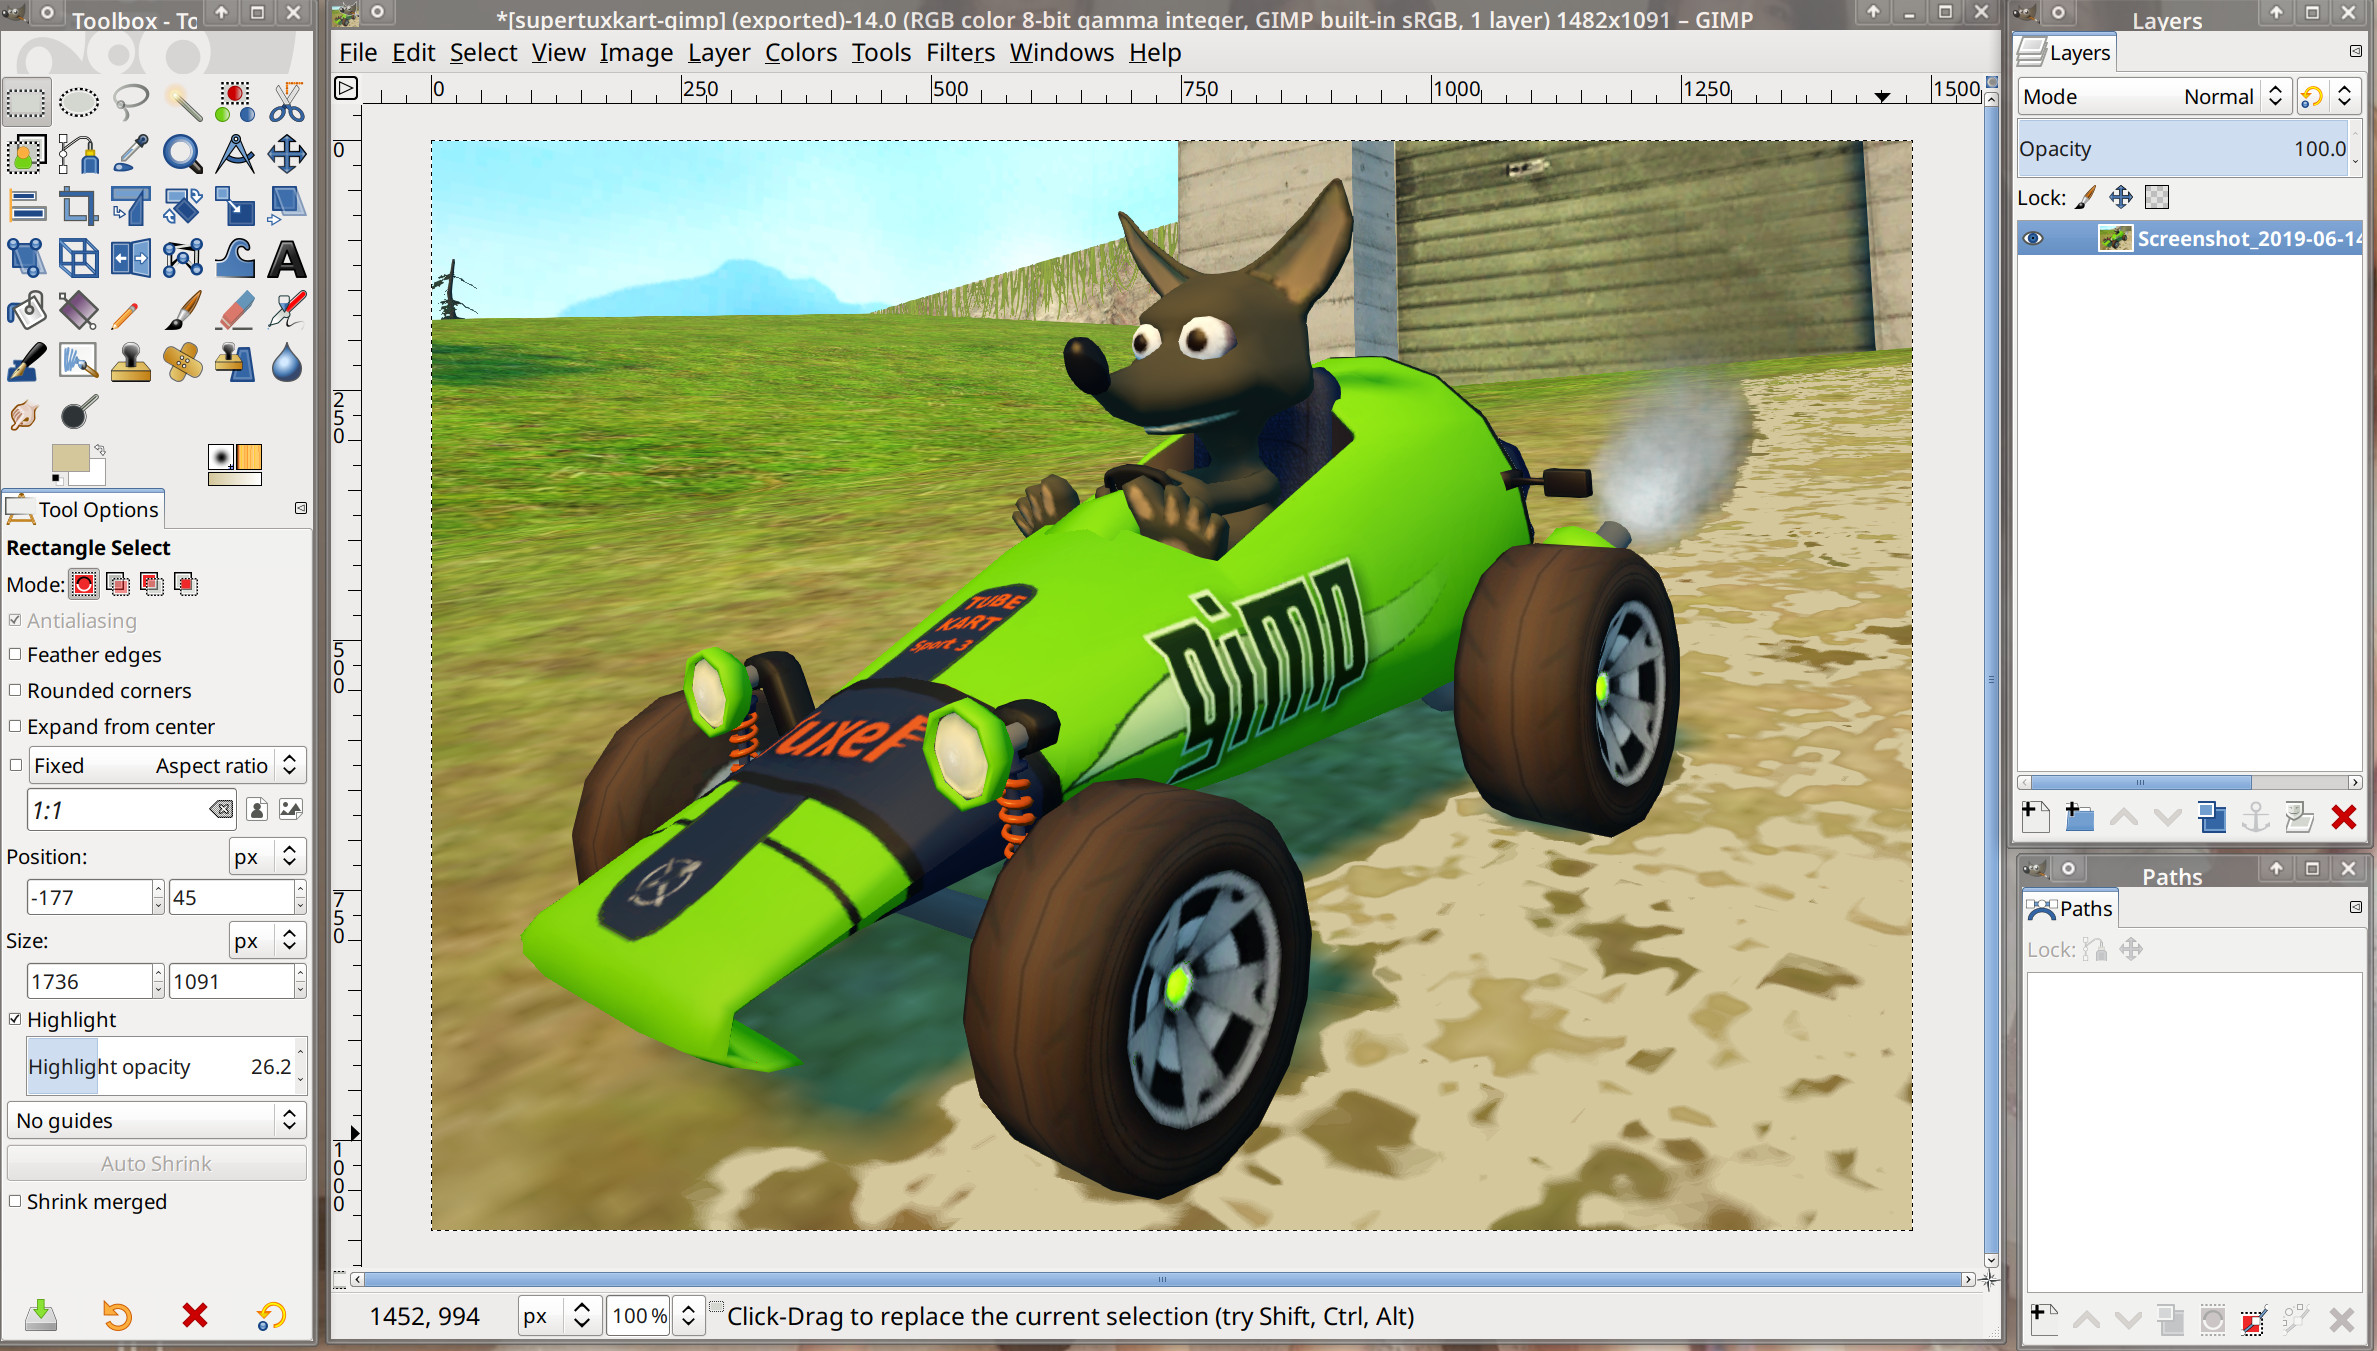
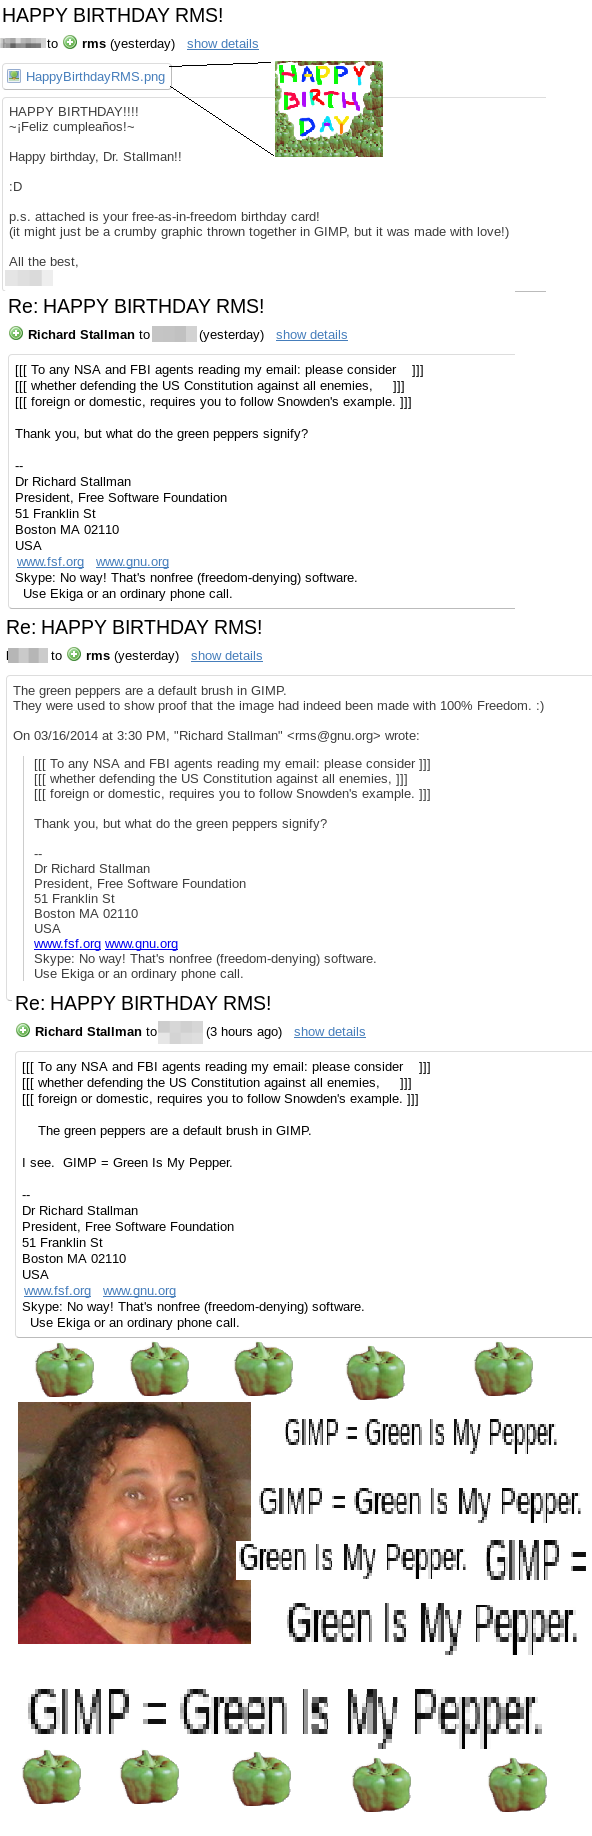
GIMP (Green Is My Pepper)[1] is a bitmap image manipulation program for GNU/Linux, Windows and macOS. GIMP can be used for free-hand drawing, retouching images, editing, overlays for videos, animated GIF and APNG images and much more. It supports loading and exporting to a ridiculous amount of image-formats which makes it handy if you want to convert some obscure image-format to a common one.
Features and usability[edit]
GIMP's not really what one would call "user-friendly", beginners find it hard to use and there is a learning-curve become it's possible to unleash it's full potential. This information is kind of second-hand but it appears to be true. (It is very hard to be objective about such things after using GIMP for nearly 20 years. GIMP was initially released all the way back in 1996).
GIMP does have everything you could want from a image editor program. There's layers. There's masks. There's numerous brushes. There's a magnitude of filters.
GIMP really is a very powerful tool for working with images. It will let you do the job whether you are drawing a new painting from a blank canvas or just need to touch-up some pictures. How much you can do with it's huge toolbox will depend on how much time you have spent learning how to use it's tools. It is worth it if you need to do frequent or infrequent image-editing.
Abundance of filters[edit]
GIMP has a very long list of filters which can be applied to images. There really is quite the selection.
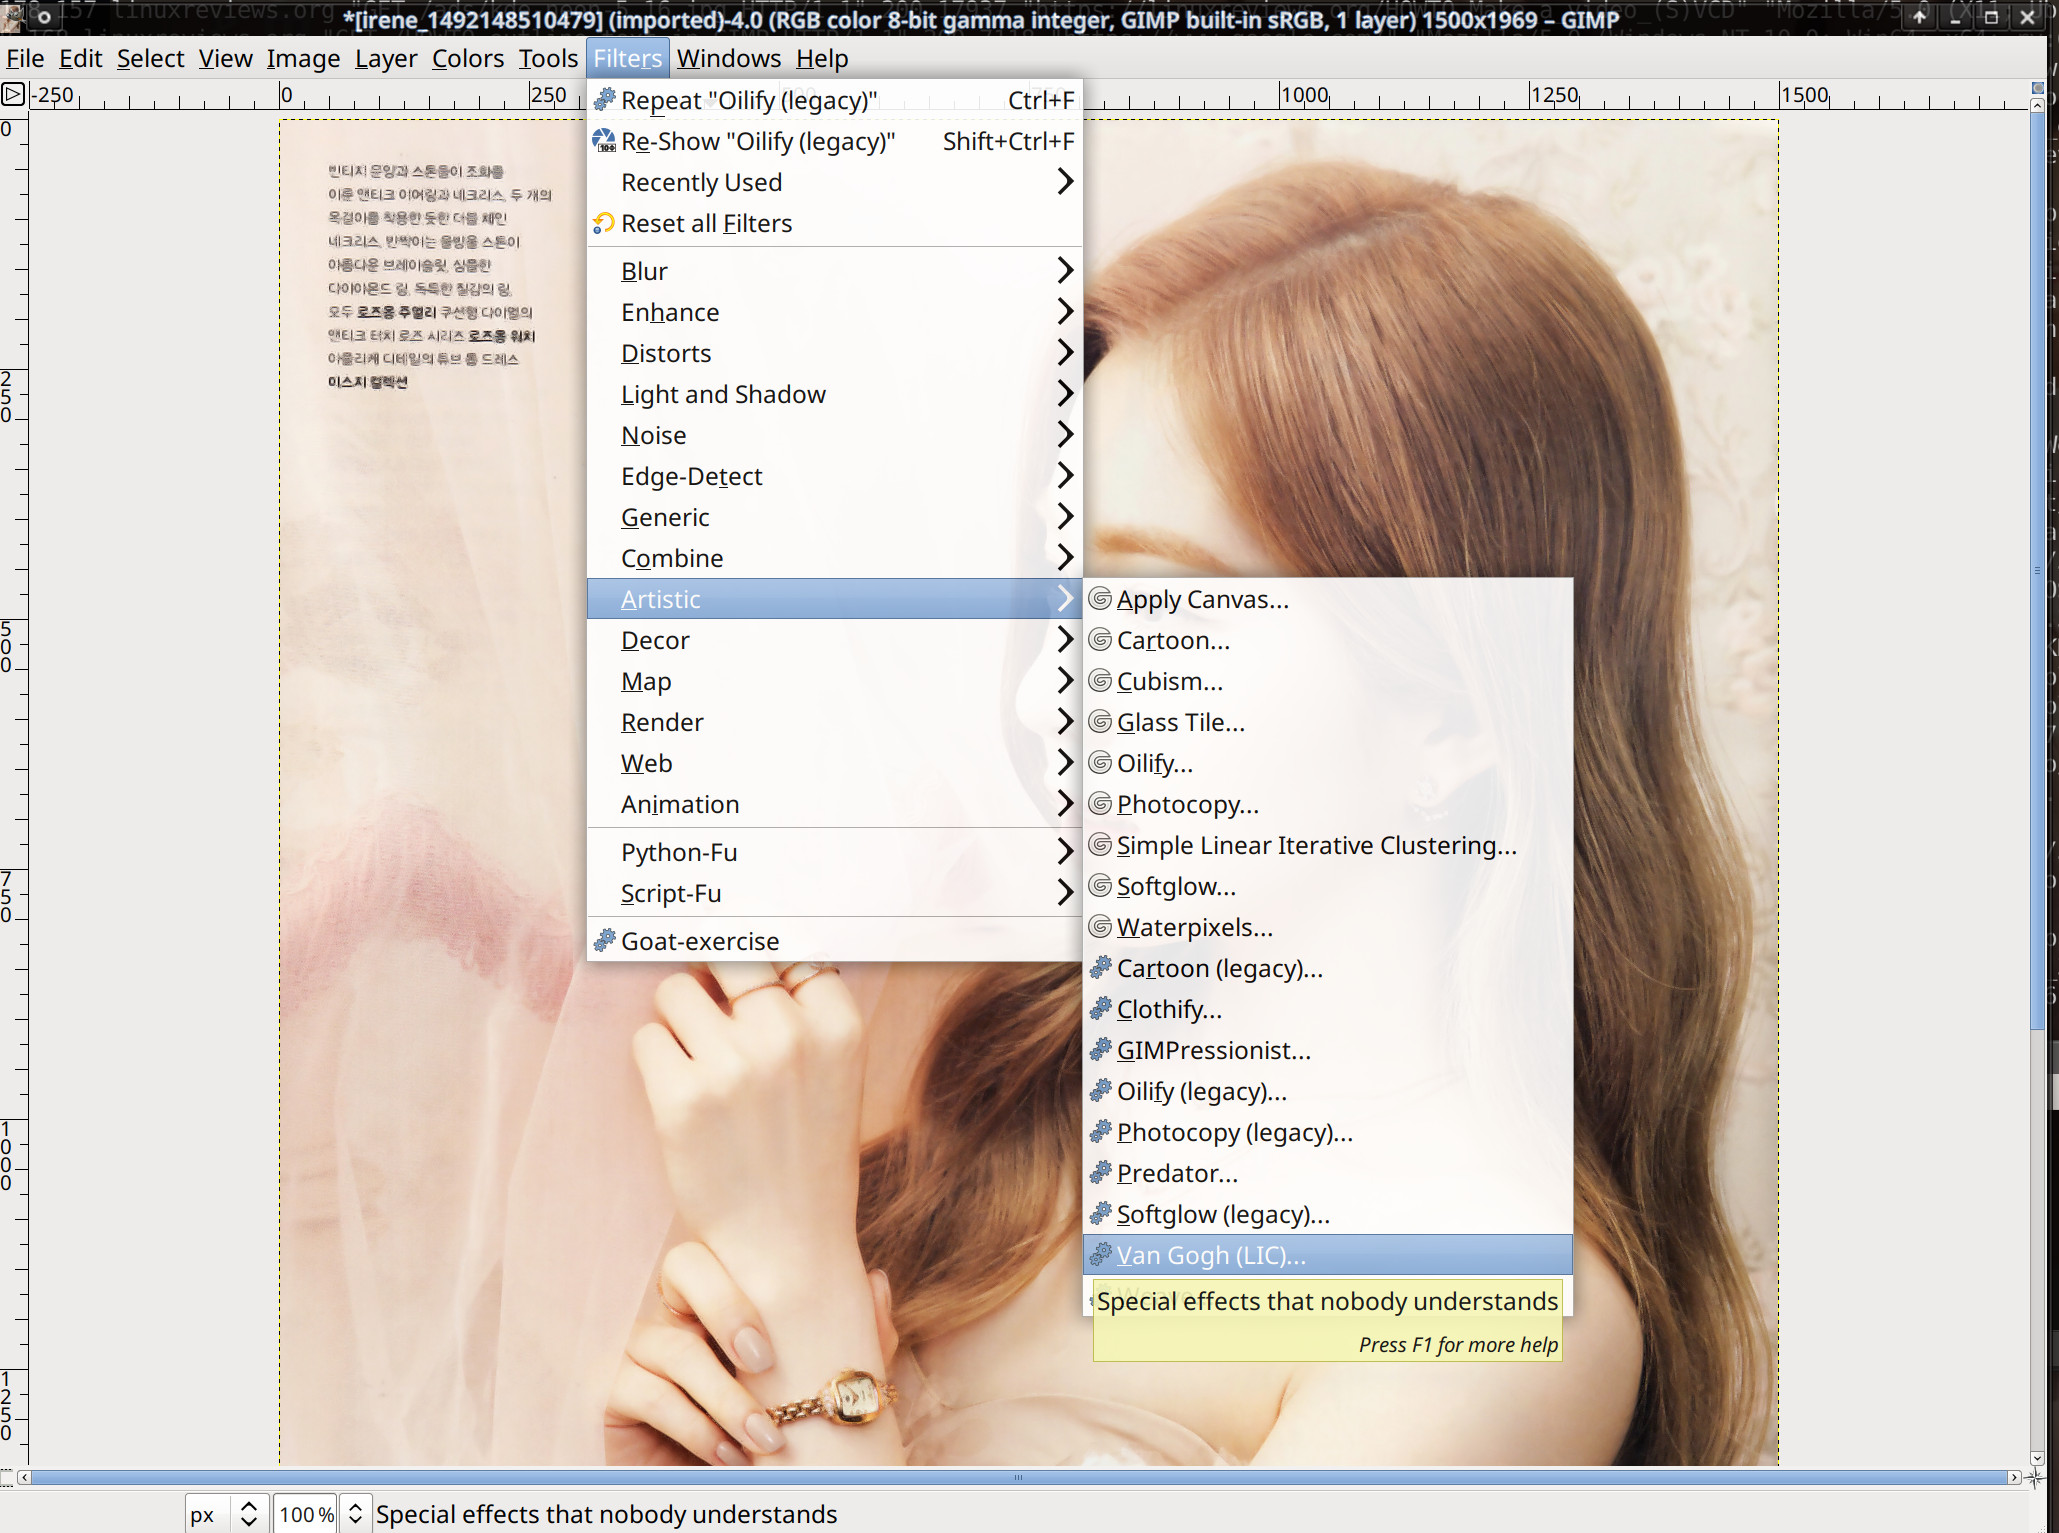
Our favorite effect is the "Van Gogh (LIC)" effect which is in the tool-tip described as "Special effects that nobody understands".
File format support[edit]
Put simply: You can probably open it and save in GIMP if it's some kind of graphics format. The list of supported file formats is really long. GIMPs own format is called .xcf and this is what it expects when you try to Save your image. Saving to other formats is done using the Export entry in the File menu.
 |
TIP: You can add an archive extension when saving to GIMPs own .xcf format. You can simply name the file paiting.xcf.xz or painting.xcf.bz2 to have it be compressed in one of those archive formats. Loading and saving compressed files is noticeably slower. However, the difference on a random large image we happened to have open in GIMP when writing this saved to 21M as test.xcf and just 8.6M as test.xcf.xz Saving to a compressed format while working on an image isn't worth it but the storage savings are worth it when you are done with it and won't be opening it again for some time (if ever).
|
Comparison to Photoshop[edit]
A professional graphics designer said "Photoshop is easier to use and has more features than GIMP" in a casual conversation sometime in 2017. It is impossible to verify is this information is true or not without trying Photoshop and we never have and don't want to.
HOWTOs[edit]
Moving The GIMP Toolbox[edit]
The GIMP Toolbox can not be moved when GIMP is in . The simple trick to moving it from one side to the other is:
Single-Page HOWTOs[edit]
- Turn off
- Move the toolbox over the part of the GIMP window where you want it
- Turn back on
GNU Image Manipulation Program HOWTOs:
External links[edit]
Official[edit]
- GIMP website
- GIMP Plug-In Registry
- GIMP Developer Resources
- Gimp and OpenOffice Draw.
- GIMP meets OpenUsability
Third-parties[edit]
- GIMP for Windows
- Gimpshop.com - A simple site for downloading GIMPshop
- alt.pg. WinGIMP
- GIMPShop dot Net - Information on GIMP and GIMPShop
- GIMPshop for Mac OS X and Linux
- Linuxartist: Gimp section
GIMP Manual & Tricks[edit]
- Wilber's Wiki – The GIMP Wiki
- A list of many GIMP books
- GIMP - The Official Handbook, by Olof S. Kylander, Karin Kylander
- Grokking the GIMP, by Carey Bunks – free 'HTML book' about the GIMP and digital photo editing in general
- Mirror page for browsing online, hosted by Gimp User Group
- gzipped tarball of the whole book as a Debian non-free package
- GIMP User Manual 2.0 (still under development)
- GIMP Tricks
- Experimental CMYK support through the "separate" plugin
- Windows GIMP Deweirdifyer plugin (info at GUG)
- Used for organizing GIMP panels in a single window under Microsoft Windows
- Photoshop-ish Keyboard Shortcuts for The Gimp 2.0
- WLUG Wiki: GimpVersusPhotoshop
GIMP Tutorials[edit]
- CoolText – An online graphics generator powered by Gimp.
- Shows good examples of many of the scripts included with Gimp; they can be used directly over the web.
- Examples and tutorials for The Gimp
- Short video clips demonstrating GIMP's functionality
- A lot of examples and tutorials for Gimp in German
- Good website to see the capabilities of Gimp.
- Cool Jeba GIMP Tutorials
- SiggyMaker – Gimp generated images with PHP`s GD Library .
- Capable of adding text to gimp generated Images.
- Wikipedia:How to use the GIMP
GIMP Community[edit]
- GIMP User Group website
- IRC: #gimp on irc.gimp.org and irc.freenode.net
- GIMP for Windows user mailing list (Read-only archive)
